Cornices – the small detail that completes your room

Cornices – the small detail that completes your room
When you’re renovating or simply want to refresh a space, it’s often the small details that make the biggest difference. Cornices are one of those finishing touches that many overlook – yet they can completely transform the look and feel of a room. They create a smooth transition between wall and ceiling, hide imperfections, and give your interior a polished, cohesive appearance. Here’s a guide to choosing, installing, and maintaining cornices that suit your Australian home.
Why choose cornices?
Cornices serve both a practical and aesthetic purpose. They cover the joint where the wall meets the ceiling – an area that often shows cracks or uneven lines – and they help protect paintwork from splitting. But beyond function, they add character and style.
- In traditional homes, ornate plaster cornices can highlight period features and craftsmanship.
- In modern interiors, sleek, simple profiles create a clean, minimalist look.
- In older Queenslanders or Federation-style houses, cornices can help preserve the home’s original charm while concealing inevitable imperfections.
In short, cornices are the finishing touch that makes a room look complete and thoughtfully designed.
Materials – from classic plaster to modern alternatives
Cornices come in a range of materials, and your choice depends on both the style of your home and the conditions of the room.
- Plaster is the traditional option, offering a timeless, high-quality finish. It’s ideal for heritage homes but requires professional installation and a bit more care.
- MDF (Medium Density Fibreboard) is a cost-effective and stable choice that’s easy to paint and install.
- Polystyrene or polyurethane cornices are lightweight, affordable, and perfect for DIY projects. They can be glued directly to the wall and ceiling with minimal fuss.
- PVC is a practical choice for humid areas such as bathrooms or coastal homes, as it resists moisture and is easy to clean.
When choosing a material, consider the room’s humidity, temperature changes, and how much wear and tear it’s likely to face.
Choosing the right style
Cornices come in many shapes and sizes – from subtle curves to intricate patterns. The right style depends on your home’s proportions and décor.
- Narrow cornices suit smaller rooms or spaces with low ceilings, where you want a discreet finish.
- Wider cornices make a bold statement in rooms with high ceilings, adding a sense of grandeur.
- Decorative profiles can be used as a feature in living or dining rooms to create a classic, elegant atmosphere.
A good tip is to take a few samples home and hold them up in place before deciding. Lighting and wall colour can change how a cornice looks once installed.
Installation – step by step
Installing cornices takes a bit of precision, but it’s a manageable project for most DIY enthusiasts.
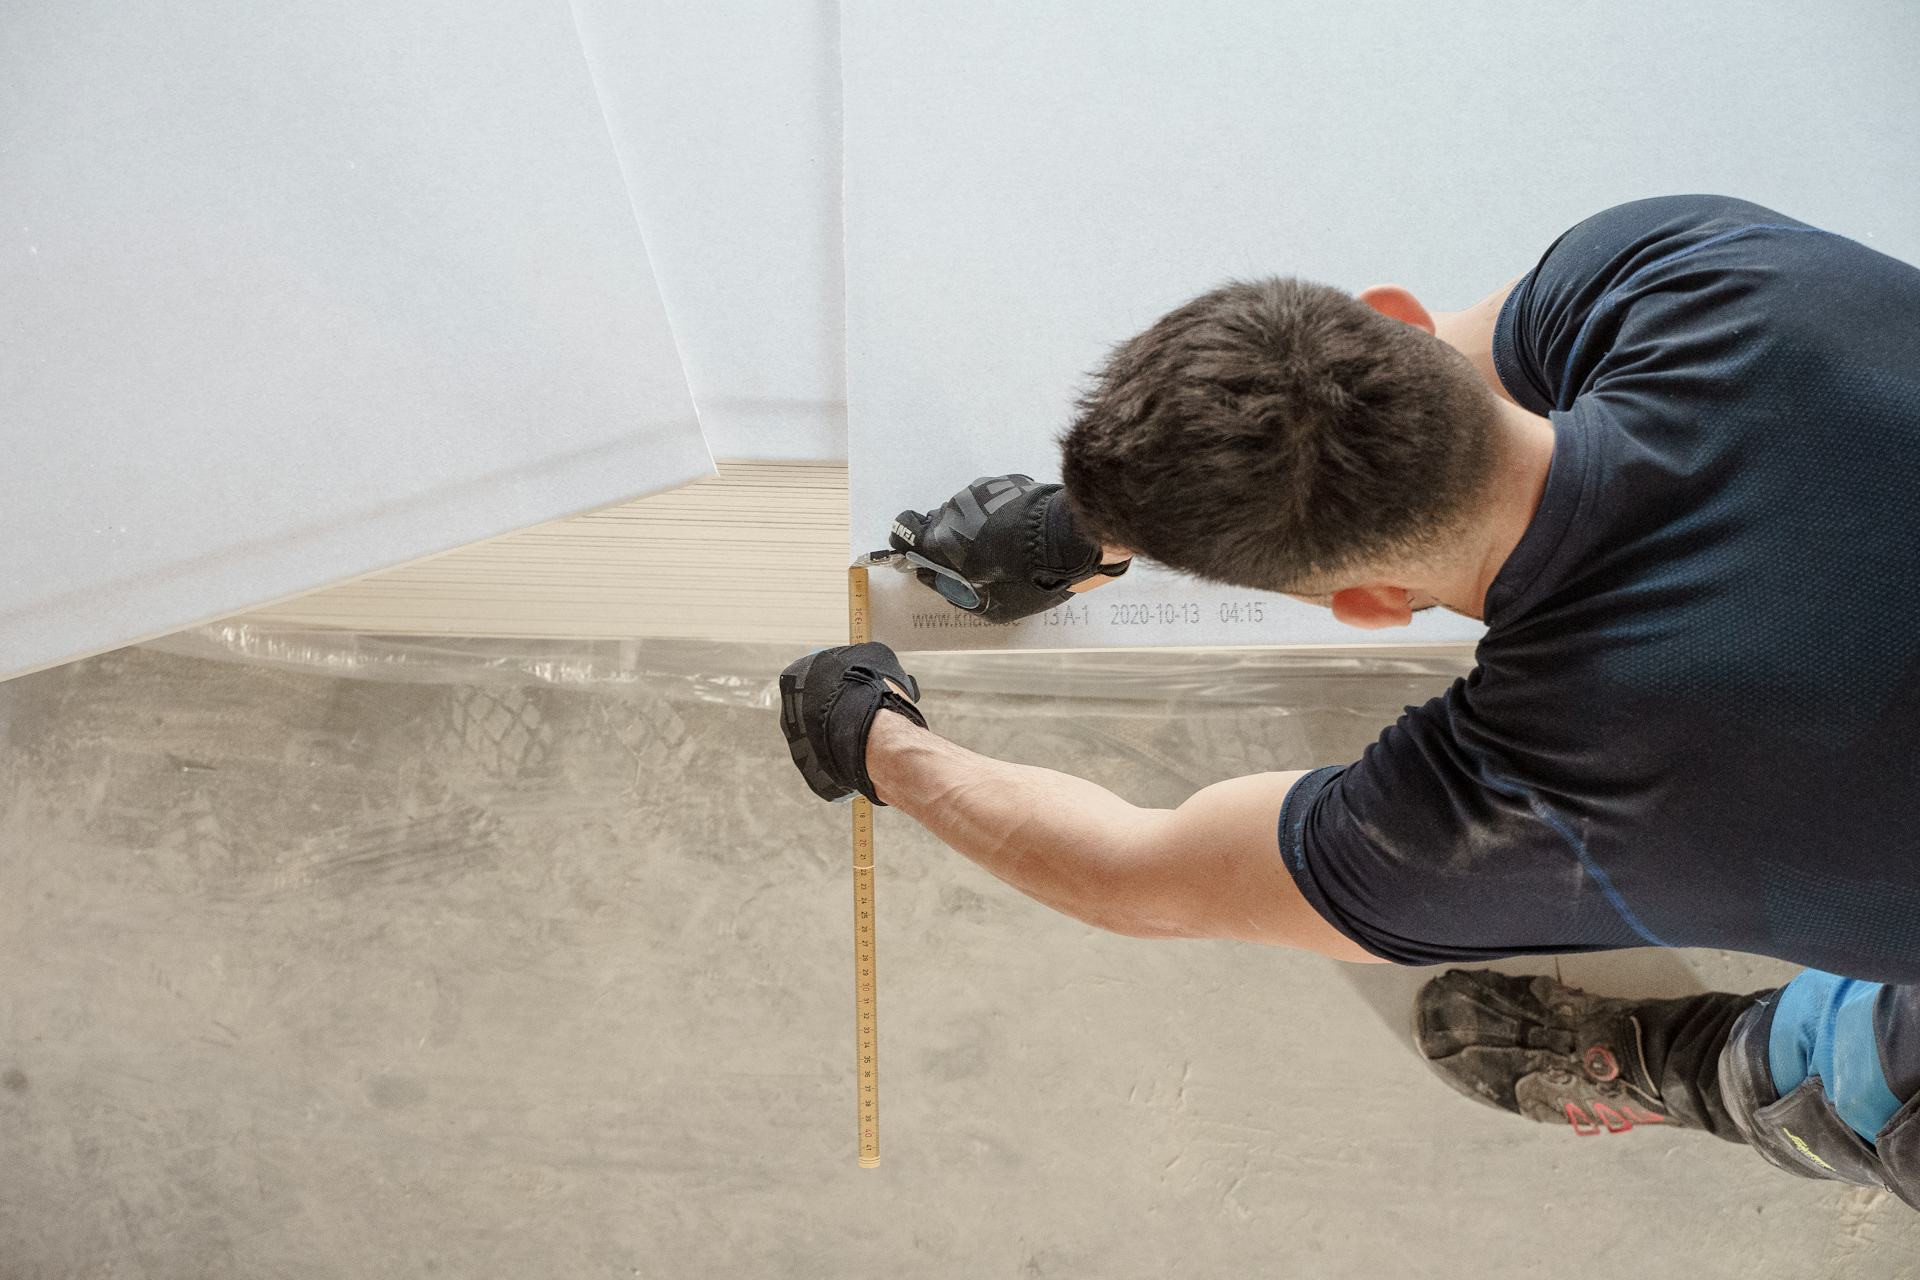
- Measure and plan – Carefully measure each wall. Remember that corners need to be cut at a 45-degree angle for a neat fit.
- Cut the cornices – Use a mitre box and fine-tooth saw for accurate cuts.
- Fix in place – Depending on the material, use cornice adhesive, nails, or screws. For uneven walls, apply a small amount of filler or caulk to close any gaps.
- Finish and paint – Once the adhesive has set, fill any joints or nail holes, then paint to match your ceiling or wall colour.
Lightweight materials like polystyrene make the job easier and cleaner, especially for first-time installers.
Maintenance and durability
Cornices require very little maintenance. A quick dust or wipe with a damp cloth keeps them looking fresh. Painted cornices can be touched up over time if they start to dull or show marks. In humid areas, check occasionally for signs of mould or discolouration, particularly if you’ve used timber or plaster.
With proper installation and minimal upkeep, cornices can last for decades while maintaining their crisp, elegant appearance.
A small detail with a big impact
Though they may seem like a minor feature, cornices have a major effect on the overall look of a room. They tie the walls and ceiling together, add depth and dimension, and give your home a professional, finished feel. Whether you choose traditional plaster, modern MDF, or lightweight polyurethane, cornices are a simple way to elevate your interior design.
So next time you’re planning a renovation or repaint, don’t forget the cornices – the small detail that completes your room.